
WASD+ 0.5.8.7
Control mobile games on your PC with WASD+,keyboard and mouse precision for a seamless gaming edge.
Download Links
Your download links are now ready!
Setting up WASD+ is easier than landing a headshot with a mouse. Whether you’re a tech newbie or a seasoned pro, these steps will have you gaming in no time. Let’s break it down.
Step 1: Grab the Software.
Step 2: Install on Your PC
Double-click the installer, follow the prompts, and let it work its magic. It’s straightforward, like installing any other app. Done? Great—onto the phone.
Step 3: Prep Your Android Phone
This part sounds fancy, but it’s simple. On your Android:
- Go to Settings > About Phone.
- Tap Build Number seven times (yes, seven—like a secret code).
- Boom, Developer Options unlocked! Head there and switch on USB Debugging.
Step 4: Connect the Dots
Plug your phone into your PC with a USB cable. Quality matters here—don’t skimp with a flimsy cord, or you might face hiccups. When your phone asks, tap “Allow” for USB debugging.
Step 5: Fire Up WASD+
Launch WASD+ on your PC. It should spot your phone right away. If it’s playing hide-and-seek, tweak your phone’s USB mode to File Transfer (MTP) in the notification bar. Give it a sec, and you’re linked.
Step 6: Game On!
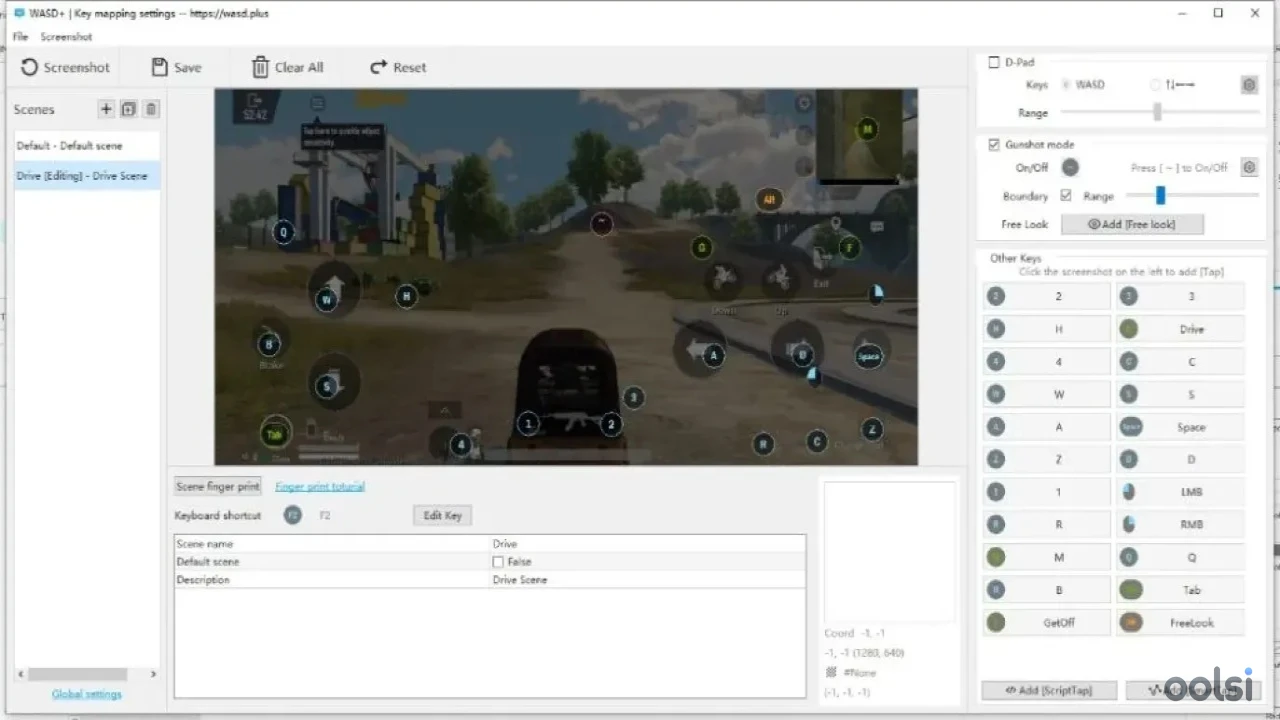
Open your mobile game on your phone. With WASD+ running, your PC becomes the command center. Test those keyboard controls—WASD for movement, mouse to aim. Feels good, doesn’t it?
Troubleshooting Tips
- No Connection? Double-check USB debugging and the cable. Restarting both devices can help too.
- Lag? Ensure your PC isn’t overloaded with other apps.
Now you’re set to dominate. Enjoy!
System Requirements
Performance Requirements
-
RAM: 4GB
-
Space: 100MB
-
CPU: Dual-core processor
Operating System
-
OS Type: Windows
-
Compatible Versions:10 11
-
Internet Required: No
-
Additional Requirements:An Android phone with developer mode enabled. A reliable USB cable for phone-to-PC connection. That’s it! No fancy extras—just the basics to get rolling.